
Intraosseous (IO) access is a quick, relatively inexpensive, and simple route for obtaining “central” access in trauma and resuscitation settings when peripheral access is difficult to acquire. When placing an IO line, care must be taken to avoid fractured bones, active infections, and patients with underlying bone pathology like osteopetrosis. In addition, IO access should be formally converted to central access within 24 hours if indicated.
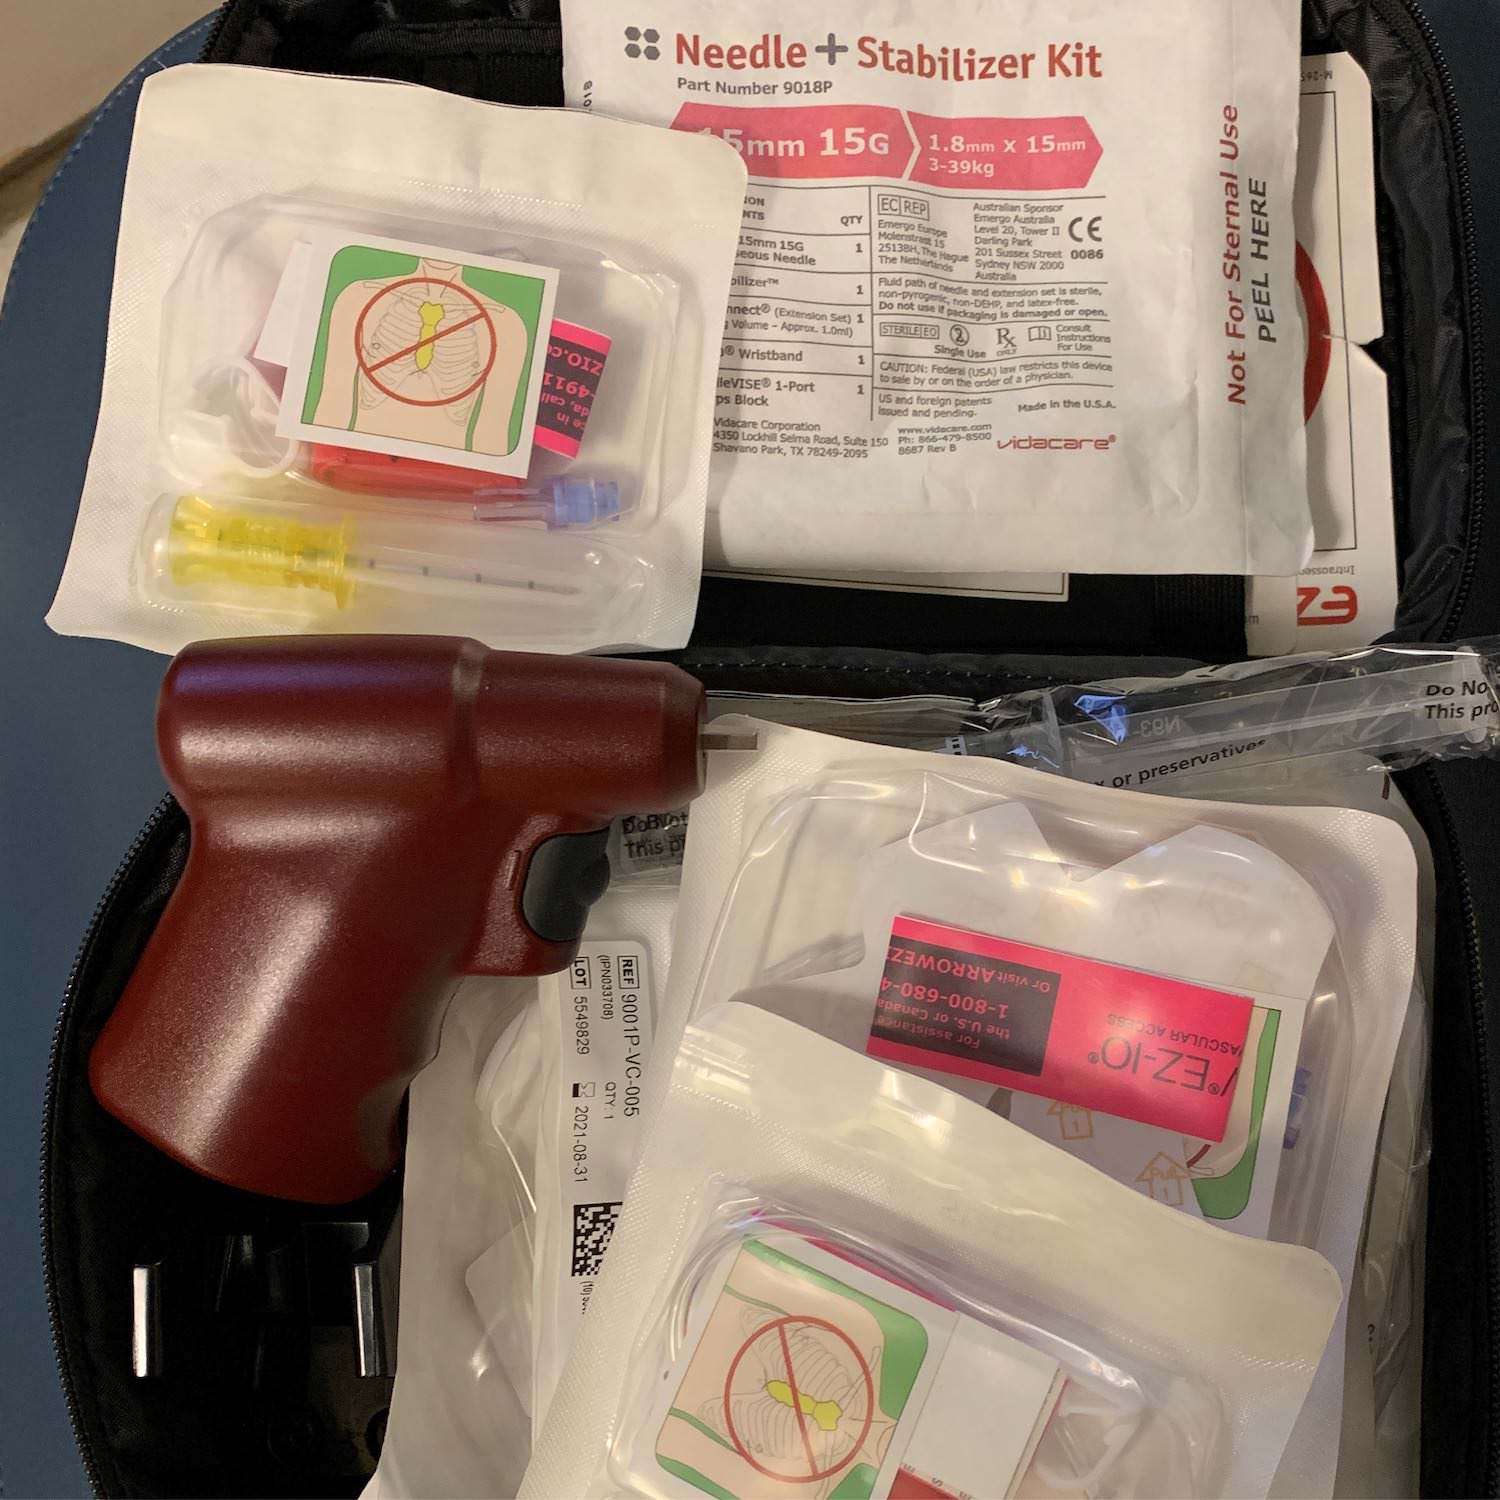
The only times I’ve placed IO lines have been in the ICU as my colleagues in the ED usually place them prior to emergent operative cases. With kits like the EZ-IO (pictured), I prefer placing lines at the proximal humerus (1-2 cm above the surgical neck) or proximal tibia (2 cm inferior to patella, 2 cm medial to tibial tuberosity). It’s important to use the right needle size, make firm contact with the cortical bone, and feel a “pop” into the medullary bone space. An indicator line helps confirm that the appropriate depth has been achieved.
Once the IO needle is positioned, I aspirate bone marrow and then immediately flush lidocaine into the space since infusions tend to hurt more than the drill itself. Pressure bags are helpful when infusing large volumes through an IO too. Above all else, I’m always looking for signs of extravasation and tense fascial compartments which could suggest an extramedullary infusion or bone injury.
Drop me a comment below with questions! 🙂


